Shooting Miniatures, a primer.

Posted by on Sep 12 2020

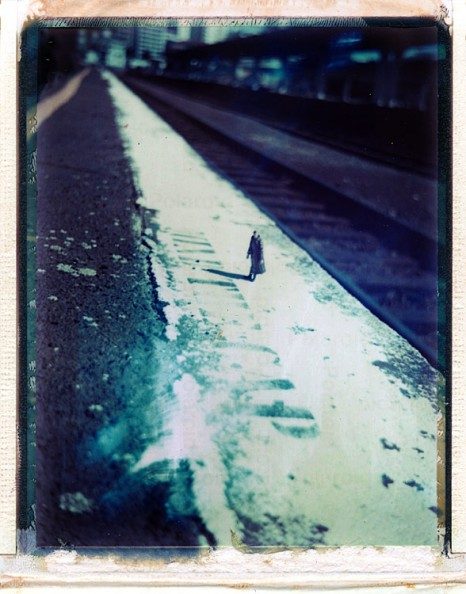
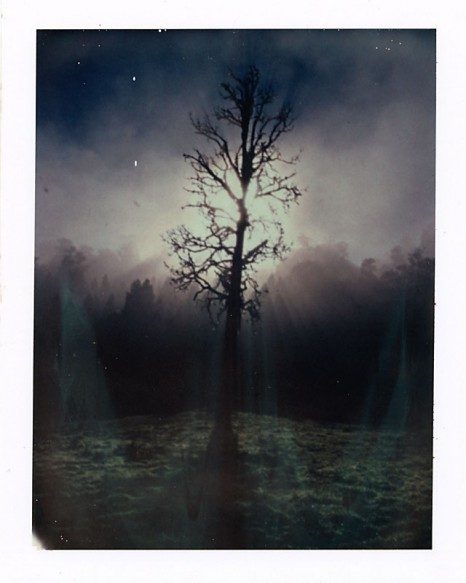
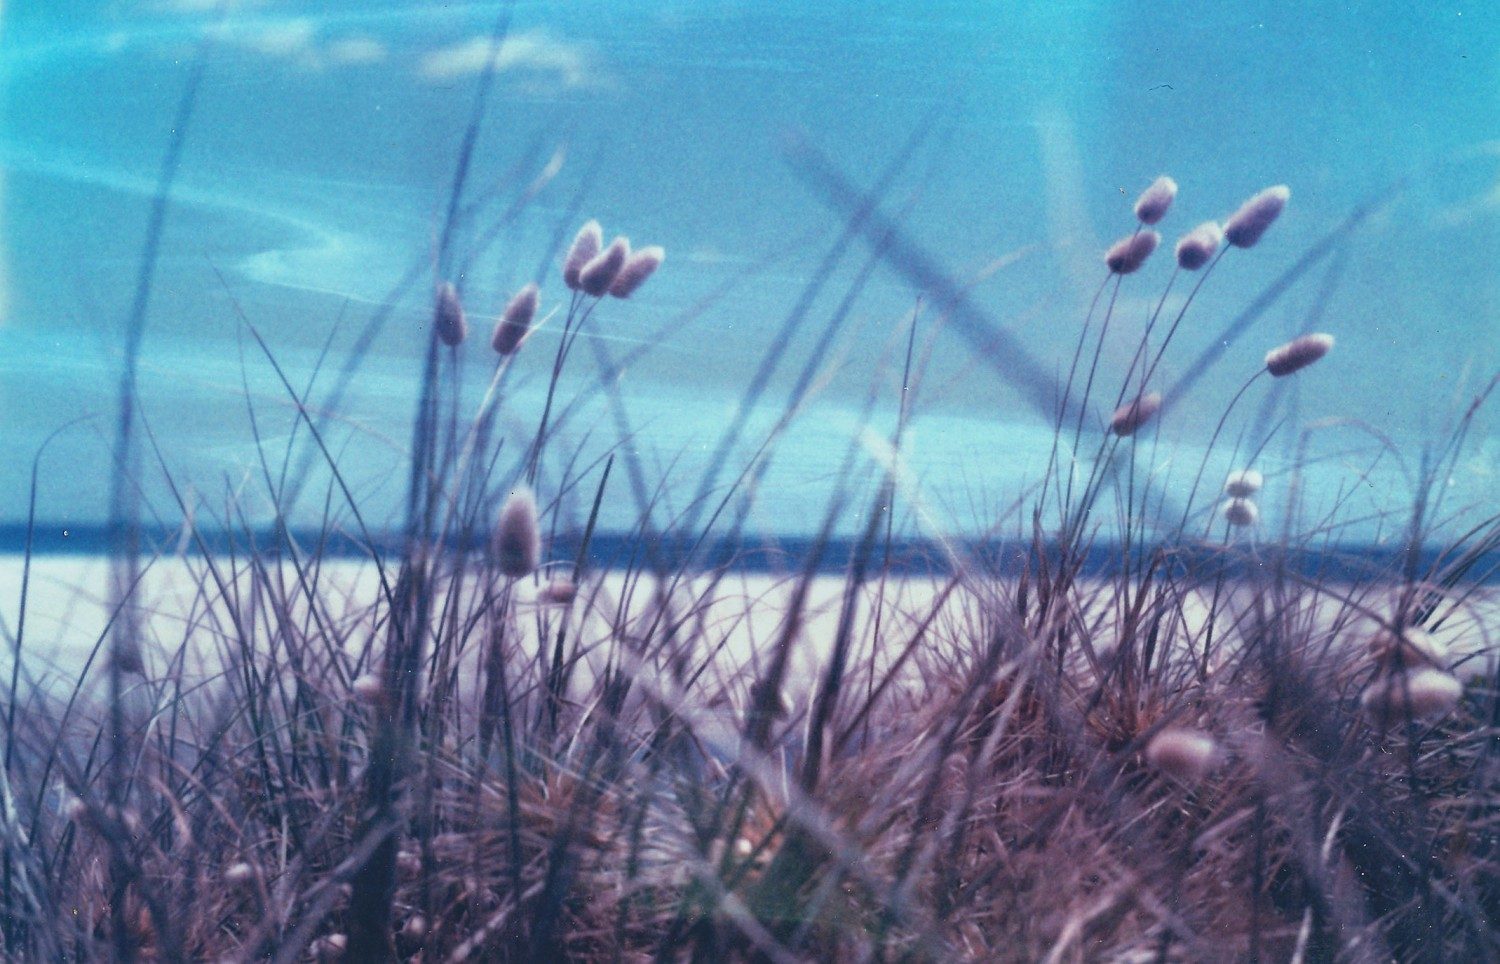
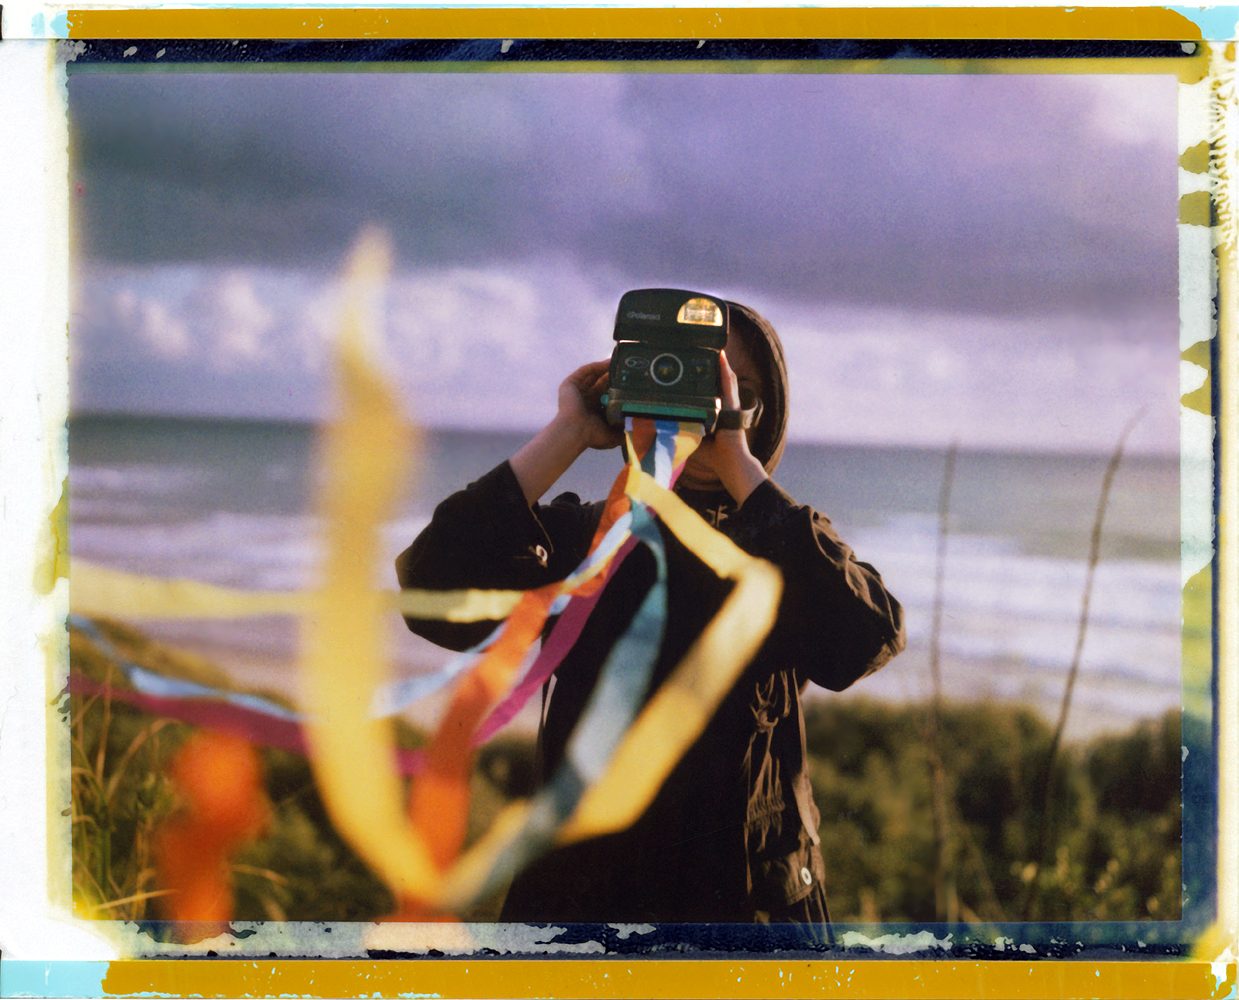
One of the great joys of taking photos is shooting outdoors, and even more so, seeing all the worlds it opens up.  Sometimes you see rocks and landscapes create perfect tiny worlds, or as Blake said ‘To see a World in a Grain of Sand‘.  Here are a few things that have helped me shoot miniatures over the years.

Choosing the your models

Most of models I’ve used are either HO scale or 1/18 scale. The sizes come with their own advantages and disadvantages; however the scale should fit the scene (landscape) your shooting.

1/18 – or action figure scale

actionfigure-6808449

Action figure shot underwater near Matakana. 35mm film.

These are commonly between 3.75″ to 4.00″ inches tall. These are great for starting out as they have to some advantages: the limbs are flexible, there are many accessories available, and you likely will not a macro lens – just a regular should work for most of these figures.

Having flexible limbs means you can set up different poses and neatly fit them in many different situations. You can also configure them to interact with other action figures (eg shaking hands, dancing etc).

In addition, there is a plethora of accessories available – including a wide range of dollhouse furniture.

The larger size also means you will not  need a special lens to shoot them; in fact I never used a macro lens or close up filters for this scale.

There are few drawbacks:

  1. Price – these models tend to be pricier, and the accessories even more so. You might be able to pick them up cheaper at thrifts stores, but there were several times I wanted a very specific piece for a shot, and the costs can rack up!
  2. Limitation on styles – Many action figures don costumes, so its harder to find figurines that are not in super hero, fantasy, or military garb.  I have not checked recently, but female figurines were also more difficult to come by
  3. Lack of detail –  This is especially seen in the joints such as elbows or knees, having a visible screw sock can easily destroy the intention of making a scene look realistic.  This is where finding the right perspective becomes important. With film, grain and the beautiful imperfections of Polaroid film go a long of masking some of these faults.

HO Scale – or train model scale

hoscale-e1599941487113-9965900

ho scale, polaroid 125i film. Swirls are artifacts of expired film. Snell’s Beach.

These are tiny figurines and models that come with trainsets. These have and advantage in there there is so much variety to choose from, I get giddy when I go online or walk in hobby shops when I see the possibilities.

Unlike action figures, these come in a dazzling array genders, outfits and possibilities. You can also larger set pieces at good prices – these can include houses, vehicles, animals, trees, and even miniature electric lighting! You can spend hours looking at HO scale models and accessories on eBay!

Unlike action figures – the models do not have flexible limbs, so the pose you get out the box is the pose you are stuck with, unless you want to modify them.

In addition, these models are tiny! These figurines can  range between .7 inches (1.78 cm) and .83 inches (2.10 cm) high. The HO scale is 1:87 scale in size; for reference a 6 foot tall person would be 72 inches (183 cm) divided by 87 inches  (221 cm) – or approximately .83 inches.

At this size, shooting with a default lens (even 50mm lens on film) can challenging. With film, I typically always use a close up filter or macro lens, with the exception of when I use my large format 4×5 camera.

Here is a quick comparison chart of the scales:

HO Scale Action Figure Scale
Price Generally Lower More Expensive
Variety Great variety Less variety
Posable Fixed pose Variety of poses
Camera Likely needs macro Almost any lens

Is one scale better than the other? Definitely not! It depends on ‘landscape’ they are situated in.

Setting up the outdoor scenes

I generally like to find miniature landscapes that could be mistaken for ‘life-size’ landscapes if you use the correct perspective. I am fortunate that I live close to several beaches that provide ample opportunities for such locations. These scenes typically have unique rock formations, tidal pools, or micro vegetation (such as moss) that can be used for a bit of Trompe-l’œil.

Some examples and explanations:

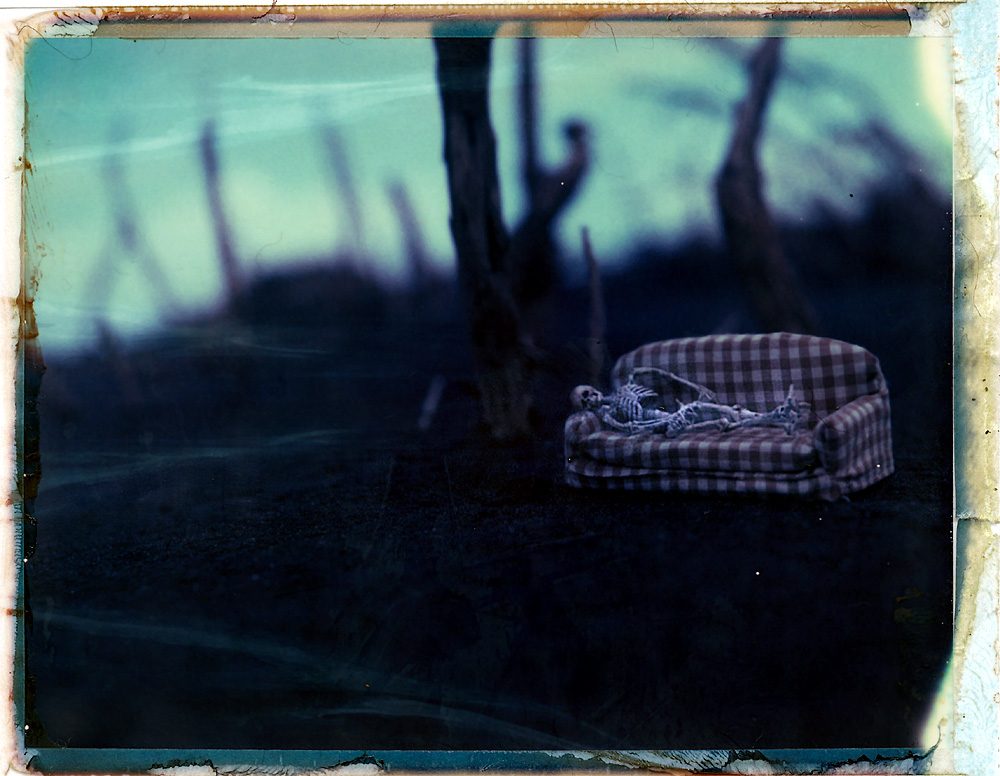
Below: This was shot on a black sand beach with 1/18 scale model. There was a piece of buried driftwood that mimicked a decimated forest in the dunes of Whatipu.

skeletonbath-7511982

skeleton bath, polaroid packfilm

In this shot, I intentionally used a short depth of field to blur out the subject. The foreground was actually sea moss on top of a small boulder, but it looks like clumps of mowed grass. This was with an HO scale model figurine.

millsbay-3801606

mossy, foreground. Polaroid Packfilm

In this scene, a 1/18 figure action figure pushes a stuck vehicle out of a small stream, in this case a tidal pool on one of Auckland’s west coast beaches (Armour Bay Reserve).

pushit-9343883

tidal pool push, Polaroid Packfilm

Surreal landscapes can be found anywhere. This HO scale figurine is wearing a Hazmat uniform as he ponders the alien landscape in Sandspit, Auckland. This was taken on a weather-beaten rock nub during low tide. Incidentally the yellow line running on top of his head is an artifact of the expired film, not post processing.

alien-landscape-2027161

sureal landscape, polaroid packfilm

Its important to not forget about perspective. Here are two shots I took of a miniature gondola shot at Mill Bay in Auckland. The first shot I didn’t consider the background and the  scale of the trees, making it less unsuccessful as a Trompe-l’œil photograph. The second fairs better in this regard. These where shot with 1/18 scale action figures.

trompe-loeil-fail-6584602

unconsidered perspective, polaroid packfilm

better-4499712

Note not every outdoor miniature needs to have a perspective in reality, this is one my favourite shots, influenced by the German painter Michael Sowa taken at Cornwallis Beach in West Auckland:

sowassuppe-2773126

Pig Soup, FP-100c Silk Film

Shooting in a studio

When I say studio, I really mean a cramped, makeshift office (you work with what you have!).  Generally, its not normally my thing to indoors, but I was very curious of how this would work since I loved the work of artists like Lori Nix and Kathleen Gerber who made beautiful elaborate sets.

My shots were a little less elaborate but did make use of a few materials an creative staging.  Here was my set up for most of the shots:

  • A computer screen with a photo for my backdrop. At the time I had Mac computer – and the photos for the backdrop where from my collection of digital photos over the years.
  • A prefabricated foreground. Usually I used a piece of polystyrene that I had molded to my needs. Other times I used store-bought  ‘fake grass fields’ (which rolls of fuzzy green paper) .
  • My Horseman 4×5 camera with a Polaroid back. Because of the flexibility of bellows, there was no need for a macro lens or enlarging filters.
  • A set of LED lights to brighten the scene.
  • HO Scale Models – because of my small set up, having a smaller model worked best here.

Examples and explanations:

The picture below was one of my first efforts. I used a photo from Bethell’s Beach as a back ground, the foreground was piece of polystyrene. I used spray glue to put black sand as the earth, and stick that looked like a tree for the prop that my HO figure leaned up against.

dreaming-tree-e1599947706524-9497077

dreaming tree, fp-100C film

lighting_dunes-300x200-2200727

bethels beach background image for dreaming tree.

This next photo uses a background I shot from Raglan, New Zealand. The green grass is a actually a roll of fake grass I bought at a hobby store, and HO figurine mowing the grass.

mowbody-888x1024-1064435

Mowbody, FP100C film

green_sunset-300x225-7137069

background for mowbody, shot near Raglan

Finally not all my miniatures were HO Scale or 1/18 – I had a 1/6 scale doll (about 12 inches/30.5 cm) that was part of a test shoot for Outlier Cartel. Of all the images here, it was the only shot on digital.  Since this model was bigger, I used my television as a backdrop. The background image is from the Fallout4 video game. Lot’s of little props here include kumera, a mailbox, beer bottles, a gasmask and more. Surprisingly this was a lot harder to shoot because of the lighting requirements and perspective. While I liked the shot, I wanted a lot more landscape in it to give it a sense of scale. In the end, we opted to hire Lori Nix and Kathleen Gerber to do the shoot for us, and it was a winner.

apocalypticpost-1024x683-1909103

apocalyptic post, digital

Final thoughts

There is of course, a lot more to shooting miniatures than what I listed here. I love shooting miniatures, particularly outdoors because it forces you to examine your surroundings more carefully. Overtime you come to notice the world is full of delightful landscapes, large and small!

As for influences,  I draw inspiration  Tatsuya Tanaka, Lori Nix, and Kurt Moses. In addition, as a kid I also thoroughly enjoyed playing with action figures outdoors (some would have been worth quite a bit money had I taken care of them). Part the fun of shooting miniatures is getting to be a kid all over again!

ravine-6645346

ravine, 35mm


The Kiki and the Google

Posted by on Sep 08 2020

This is a short story, or rather puzzle, that I recently rediscovered in an old children’s book. The book is the 1982 Childcraft Annual called the “Puzzle Book” published by World Book, Inc. The reason for this post is for the delicious use ‘Google’,  15 years before the company was formed. The Google business name was a misspelling of the name ‘Googol‘, but the company decided to stick with the misspelling instead. Perhaps they would  have reconsidered the name had they known this story!

I am including part of the story here – the actual answer to the riddle/puzzle will be left in the book – so you’ll have to find the book to know the answer (or figure it out yourself)!

Captain Laura Blazer, the Space Ranger, was in trouble. She was lost on the planet Raz. Her scout ship had run out of power and come down on an unknown part of the planet.

Caption Blazer could call her base on the radio. If she could let the base know where she was, another ship could be sent to rescue her. But she knew only that she was in the forest where the creatures known as Kikis and Googles lived.

Not much was known about these creatures. They were intelligent, and could talk. But, for some reason, they never answered more than one question from a stranger. It was known that while Kikis always told the truth, Googles always lied.

Captain Blazer had never seen a Kiki or a Google. But she know they did not look alike. And she knew that the land of Kikis was in one part of the forest and the land of the Googles in another part. If she could find out which country she was in, she could let here base know where she was.

She began to walk through the strange forest. Suddenly, she came face to face with two odd looking creatures. One must be a Kiki and the other a Google. But which was which?

Because she was a stranger, they would answer only one question. One of them would lie and the other would tell the truth. What one question could Captain Blazer ask that would let her know whether she was in the land of the Kikis or the land of the Googles?

(answer on page 167).


Updates and Polanoid Shot of the Day winners.

Posted by on Aug 18 2020

This is the first post in a very long while!

After migrating this site from blogger to self hosted system, I realised that I have many analoque images that I have not posted on Parahanga, they instead went to Flickr and Polanoid.  While I have no issues with Flickr and Polanoid, I find it important to have the images here on my own site, away from corporate terms and conditions. One need only to look at what happened to PhotoBucket (incidentally I lost a few of my older digital pictures there).

So over the next few months, updates are coming!  They won’t be new photos, but rather photos posted Flickr. In time,  brand new photos may posted here as well.

While winning prizes and awards is not a primary motivator of mine, I thought it would nice to show the six Polanoid shots of the day I’ve won over the last ten years. Some several years after I posted them!


2009-12-17-5411198

Shot of the day for 2009-12-17

2010-02-08-9692006

Shot of the day for 2010-02-08

2014-11-17-4700369

Shot of the day for 2014-11-17

2017-12-17-3612147

Shot of the day for 2017-12-17

2018-04-17-6580202

Shot of the day for 2018-04-17

2020-01-07-1550621

Shot of the day for 2020-01-07


Parahanga

Posted by on Aug 16 2020

My journey into photography (and life) has gone through many successive waves.

I started learning photography on 35mm. In my mid twenties, I found my passion in digital photography when it was fresh on the scene. It offered a new paradigm to photograpy – moved from chemical processes to to electrical (digital) process. It greatly reduced the barrier of entry for photography; it didn’t require a darkroom: all that was required was digital camera and computer (and now, just digital camera). I loved the simplicity, and when I immigrated to New Zealand, I dived into photography (I even toyed with the idea of becoming professional!).  My website here at vonnagy.com even ranked first for ‘new zealand photography’ gathering up to 35,000 visitors a month in the early 2000’s.

This was a huge period of growth as an artist for me. During this time, I made from friends from all over the world. I’ve had the opportunity meet people in real life. I travelled to Australia, Canada, Poland, Portugal, and Ireland to meet other photographers. Many of these people, such as my friend Troy Moth, have become close friends.

But after several years, my passion for photography dried up.  I was also wrapped up very deeply vested in the start up Online Republic, this was taking up as much as 80 hours or more of my time. In 2007, I  I took my digital camera on a much needed holiday to Europe. I remember taking some  photos in beautiful Northern Ireland. After that, I didn’t pick up my digital camera for a long time. In fact those photos from Northern Ireland are still residing on an unviewed flash card somewhere! My wordpress blog also got hacked via the comment plugin I had, and start pumping heaps of spammy links into my sites and others. I eventually fixed it, but the damage was already done, my site when from 35,000 visitors to about 35 visitors a month afterwards. I just figured my time with photography had run its course. I was nearly 2 years before I picked up a camera again.

Then, I heard that Polaroid was no longer going to manufacture their film. That caught my attention.

I bought a Polaroid camera in an  auction and took a roadtrip to the central North Island to pick it up with my  girlfriend. After the first photograph I took (which was literally a chicken that had crossed a road), I was hooked. . Though I had no preview for how the film would turn out, and quirky nature of polaroids gave me unexpected joy in shooting photographs again. I realised that it was the medium of digital photography had sapped my passion for photography, not photography itself. Film renewed my passion.

With my website in shambles (though I later restored it), I decided to create a new website for my second life as a photographer. I toyed with many new ideas, but the answer came unexpectedly from my father. My father is a photographer as well, he’s taken nature photographs his whole life  and has never deviated from that course. When he visited me in New Zealand, he would always point out to rubbish on the side of the road or flotsam  on the beach. In his view, all I photographed was ‘junk’.

At the time, I was thinking about the Austrian word rubbish (in dialect ‘Klumpert‘). But since I was in New Zealand, I tried to find a local word that had the same meaning. I found the word ‘Parahanga‘ in the Maori Dictionary online and thought it was a suitable reference to my dive into analogue photography:

parahanga 1. (noun) rubbish, litter, scraps, rubbish dump, pollution.

So in 2009, I launched Parahanga.com, and started my commitment to analogue photography. This was a deep dive. During this time, the process of learning was very zen-like. Analogue photography forces to slow down and be patient. You contemplate carefully. In the case of polaroid film, there are 10 or less prints to be made, it was expensive, and the fickle nature of expired film often meant that that not every exposure will turn out. Sometimes whole packs could be ruined. But the results could turn out to be other-worldly. An unlike digital, completed tangible. You could hold them in your hand (not computer screen or iphone).

My success with Online Republic allowed to buy all sorts of crazy and wacky cameras. Although I didn’t have space in my home for darkroom, I soon learned how to at least developed negatives, including colour C-41 negatives in my kitchen. It a labour of passion and I loved that I was involved in nearly aspect of photography. The process didn’t stop at the rendering of light by a CMOS chip or abstract 0’s and 1’s that could be manipulated by PhotoShop. It was a physical object that meant no layer of abstraction with me and the final image.

In addition, I found the community of analogue photographers very endearing; I was quite involved on Flickr and Polanoid, the latter site I won Shot of the Day six times. I relished the days I could go out and take photos again.

But all things change. In 2013, I only had 3 posts on my Parahanga.com site. In early 2014, my mum had a very serious auto accident which shook my world. Very fortunate for us, my mum turned out to be okay, but we decided that we should spend at least part of the year overseas. Photography took a backseat. I posted my last post on Parahanga in June of that year. Over the next couple of years, I sold the majority of my cameras and packs of film.

Previously I stopped photography because lack of passion, but now I didn’t have time. Life happens; however, life does come around in waves.

Its August of 2020, I am a currently overseas waiting to come back to New Zealand. My wife (my girlfriend when I bought my first polaroid camera) and I have decided that after trying hard to balance two countries for last 5 years, to return home to New Zealand for good. I had a look at a parahanga.com the other day, and I decided to migrate it away from the Google corporate blogging platform into wordpress site. I am glad I did not let  parahanga.com expire; the common practice by many search engine spammers is re-acquire old domains, and redress them spam until the domain is not worth anything anymore. Though I am not sure if I will continue my photography on parahanga.com, but at least I can keep it from deteriorating on the web.

Although I am still months away from reaching my camera and film, there is still fuel in my tank for photography. Let’s see what happens.


Quick guide to Nginx and Swift Perfect server on your local linux machine.

Posted by on May 02 2020

The goal is a to use the Swift Perfect server to use the default “hello world” template, but let Nginx serve static files

I am currently testing out the Swift Perfect Server (eg from [Perfect.org][1]) and Nginx. The idea here is to let Swift Perfect to serve dynamic stuff, and Nginx to serve static stuff (like images, css etc).

This quick & dirty guide assumes the following:

  • You’ve got [Nginx][2] installed and running.
  • You’ve got [Swift][3] installed and working.
  • You’ve got [Perfect Server][4] installed and running

This is for a local configuration, since I don’t have a domain yet, I want to run it locally. So add this line the hosts file

sudo nano /etc/hosts

and add this:

127.0.0.1       swift.local

This will allow you to access swift.local on your laptop or desktop computer.

Let’s create a directory for static files (eg images/pdfs/css ) that your Nginx server will serve.

mkdir -p /var/www/swift.local/html/images

the -p will make sure that all directories along the way will be created. Let’s download an image. I [used this image][5] and renamed it swift.jpeg and placed it in the images folder from above. I set the permissions to 0755:

sudo chmod 0755 /var/www/swift.local/html/images/swift.jpeg

Now that we have directory stucture, lets create virtual hosts file. In my nginx set up, I go to the conf.d directory and create a file called swift.local.conf:

sudo nano /etc/nginx/conf.d/swift.local.conf

and add the following:

server {
        listen 80;

        root /var/www/swift.local/html;
        server_name swift.local www.swift.local;

        access_log /var/www/swift.local/access.log;
        error_log /var/www/swift.local/error.log;

       location / {
                #swift perfect server access
                proxy_pass        http://localhost:8181;
                proxy_set_header  X-Real-IP  $remote_addr;
        }


        # serve static files

        location ~ ^/(images|javascript|js|css|media|static)/  {
          root /var/www/swift.local/html;
          expires 30d;
        }


}

What’s going on here:

  • Our Nginx Server is listening to port 80. If we were on a remote live server, I would port this to 443 for https
  • I’ve stuck my my access/error logs just above the root directory
  • location / : This is where Swift does its magic; the proxy pass goes to port 8181 which is the default Perfect server port. All the dynamic goodies will be here.
  • finally the static files are all service by Nginx and given a 30d caching expiry.

Once you saved this, try the following commands. The first will test your nginx configuration. If anything is wrong with the virtual host you just set up, it should show here. The second will reload your nginx.

sudo nginx -t 
sudo systemctl reload nginx

Finally, create a new PerfectHTTP project anywhere on your local machine. I have build mine in /home//swift/, but you can build this anywhere it makes sense to you. Run the following the commands to create a start project:

git clone https://github.com/PerfectlySoft/PerfectTemplate.git
cd PerfectTemplate
swift build

Now go and edit the the main.swift file. There are 2 changes to make:

  1. add the image code in the responsebody

    1. Remove or comment out the second route handler. Why, because this the work we want nginx to do, not PerfectHTTP: swift
      //routes.add(method: .get, uri: “/**”, handler:
      StaticFileHandler(documentRoot: “./webroot”, allowResponseFilters:
      true).handleRequest)

Here’s the main.swift boilerplate file that has been edited:

  import PerfectHTTP
  import PerfectHTTPServer


func handler(request: HTTPRequest, response: HTTPResponse) {
    response.setHeader(.contentType, value: "text/html")
    response.appendBody(string: "<html><title>Hello, world!</title><body>Hello, world! |<img src=’/images/swift.jpeg’></body></html>")
    response.completed()

}

  var routes = Routes()<br />
  routes.add(method: .get, uri: "/", handler: handler)

  try <span>HTTPS</span>erver.launch(name: "localhost",
                        port: 8181,
                        routes: routes,
                        responseFilters: [
                          (PerfectHTTPServer.HTTPFilter.contentCompression(data: [:]), HTTPFilterPriority.high)])

Almost there! The final step is that we have rebuild the main.swift file, then launch PerfectHTTP:

    swift build
    .build/debug/PerfectTemplate

Now if all went well, you can bring up your browser to http://swift.local and see the “Hello World” served by PerfectHTTPServer and the swift image served by nginx!

Quick Note:

Another way to test how nginx is handling images, is simply stop the perfect server. One the homepage you should get a 502 error from Nginx (because it can’t find the swift server at port 8080 which we stopped). However you should still be able to see the image at http://swift.local/images/swift.jpeg

I had an issue where I couldn’t get additional routes working other than root:

     routes.add(method: .get, uri: "/", handler: handler)

For instance this arbitrary route was giving me an nginx 404:

    routes.add(method: .get, uri: "/scooby/dooby/doo", handler: handler)

The PerfectHTTPServer code looked good; it turned I had this nginx try code under my Nginx server: swift
location / {
#swift perfect server access
proxy_pass http://localhost:8181;
proxy_set_header X-Real-IP $remote_addr;
try_files $uri $uri/ =404;
}

The “try_files $uri $uri/ =404;” by nginx seemed to supercede Perfect’s routing. I deleted the offending line and my Perfect routing again worked. In the future, error handling like 404’s should be done from Perfect, not Nginx.