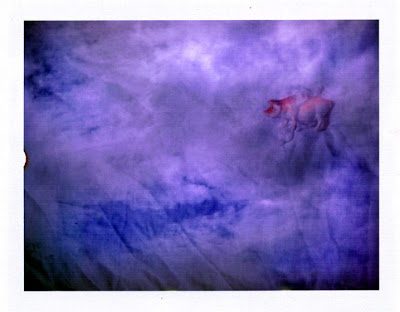
How to take a double exposure with Polaroid Pack Film
Posted by parahanga on Jun 17 2009, in double exposure, how to, packfilm, parahanga, Polaroid Tutorial, utorial
This is a quick tutorial for taking double exposures with pack film. For the sample here I used a Polaroid 104 camera (any 100 number camera should do the trick – infact, I think most packfilm cameras can be used) and Fuji FP 100c film, but any packfilm (Fuji or Polaroid) should work. No camera modification required for Packfilm but you may need it for doing some integral film double exposures (eg 600 and spectra film). Check out this tutorial here as well.
The idea of double exposures is to put one picture on top of the other – it requires a bit of compositional skills and a bit of luck with lighting.
Its incredibly simple to do with these older cameras however, in fact, its done by mistake more often than not. All you have do is NOT remove the film after (pull out by its tab) after its been shot. Then take another shot on top of the other.
I believe (unfortunately I haven’t tried this in a while) that you take the picture with darker background first, then the 2nd picture should lighter background. However, if you have any more suggestions to how to compose double exposures let me know!
from user queermountainman
If the images overlap, the exposure for each should be reduced by a factor equal to the number of exposures. For example, one stop for two exposures, 1.5 stops for three, 2 stops for four. As bambam4236 points out, this is a general rule, and can vary with the subjects.If the subjects overlap, it doesn’t matter which you photograph first.If the subjects don’t overlap, and you can shoot them against a black background (eg, a person arguing with himself), no exposure adjustment is needed.
